How to ride the bus
This article is written for the new adults, the suburb-kids-turned-city-transplants, and anyone else who spends too much money on Ubers or too much time inside their house due to lack of transportation. (Hey, I'm one of them, too.)
I'm writing this because it is very nice for people like me, who are scared of unfamiliar scripted social interactions, to have step-by-step guides for what to expect. Also, the existing guides don't have all the tips that I would tell a friend if I were explaining this to them (which I have been asked to do many times). Hope this helps 🧡
Why ride the bus?
If you're reading this, you probably don't need to be convinced, but just in case:
- It's environmentally friendly: You're carpooling with anywhere from 5 to 40 people. Plus, many transit systems use electric vehicles.
- It's cheap: Although the bus takes longer, the same trip may cost $30 by Uber or Lyft, but $4 by bus.
- It's a transferable life skill: Most urban transit systems operate similarly across the world.
- Personally, I think it's a form of human connection. You're never going to see the same people by driving. People, including you someday, will go out of their way to help others on the bus.
1. Get a bus card
Most large transit systems have moved to app-based cards. Older systems may sell bus passes at subway stops and other large transit centers.
Example: LA Metro users can download the TAP app and add the Metro card to your Apple Wallet!

2. Use a navigation app
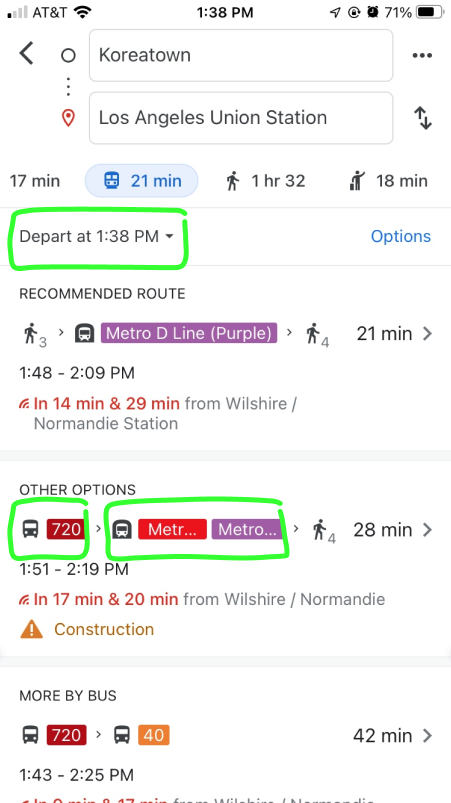
Your default maps app should have a transit option for most destinations. Notice that many routes will involve transfers between different lines.
Set your leave time. Each line follows a different schedule for different times of day and different days of the week.
Some cities have dedicated bus apps with more detailed information, such as the Transit app for LA Metro.
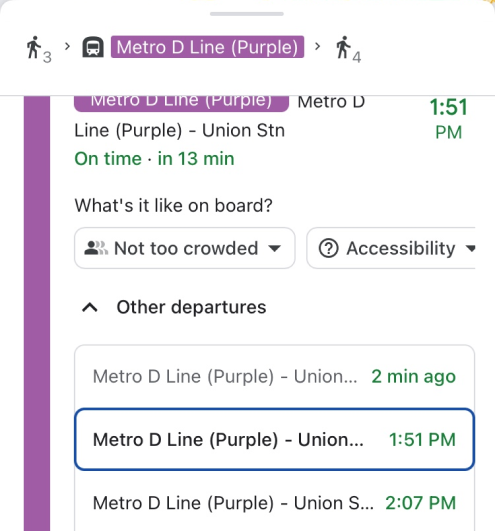
3. Find out how often each line stops
It's important to get to the stop on time. If you miss your bus, you may have to wait up to 30 minutes for the next one.
Example: LA Metro buses have different schedules based on popularity. The more frequent lines stop about every 15 minutes, and the less frequent ones stop every 30 minutes.
4. Choose your route
The best route will:
- Arrive frequently (if you miss your bus, you don't have to wait long for the next one)
- Have less walking time overall
- Involve less transfers between lines
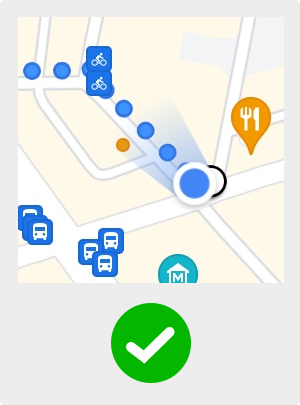
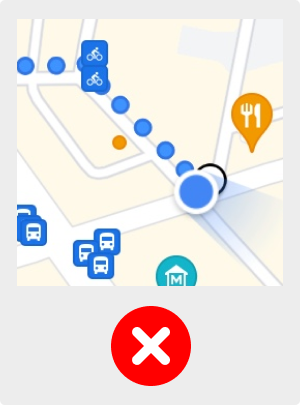
5. Find your stop
Look for a sign, which will be about the same height as a stop sign, with your line number on it.
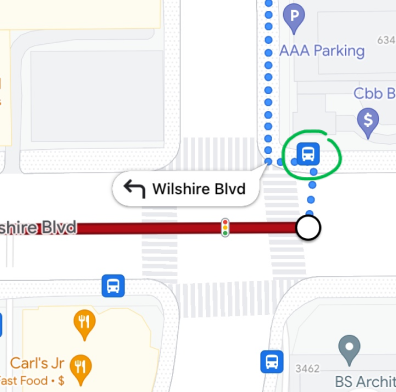
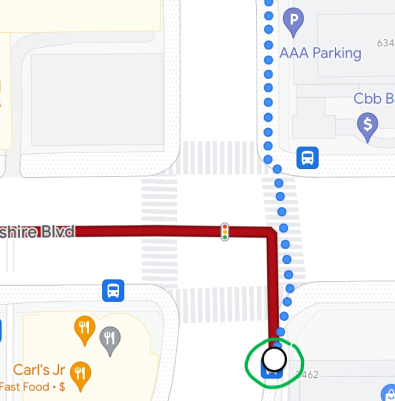
Make sure you're on the right side of the street. Each bus line goes in two directions, so the most common mistake is to accidentally go in the wrong direction.
Navigation apps have a "beam" showing which direction you're facing. Ensure that you're on the side of the street that aligns with the direction of travel.
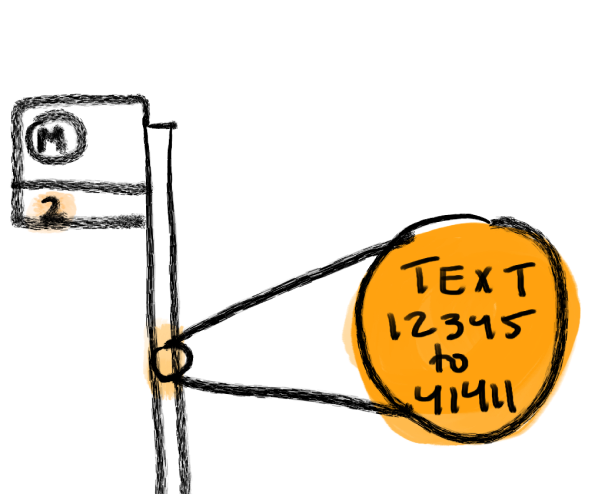
6. Wait for the bus
Many bus stops have text messages or buttons that give real-time updates on your bus.
When you see a bus, look at the top of the front, side, and/or back to see the number of the line you want to take.
Example: The LA Metro bus 761 will have "761" displayed above the windshield.
To be extra sure you're going in the right direction, you can check the scrolling text after the number. This is the last stop of the route. For example, the 761 bus from south to north is labeled "Sylmar Metrolink Station".
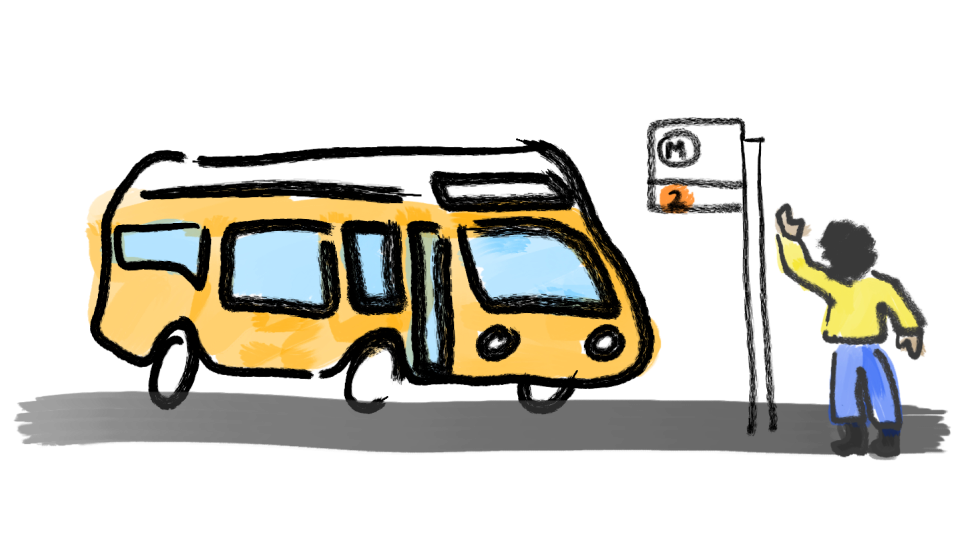
7. Raise your hand to flag down the driver
Most stops are visited by multiple lines, so if the driver thinks you aren't waiting for their line, they won't stop for you.
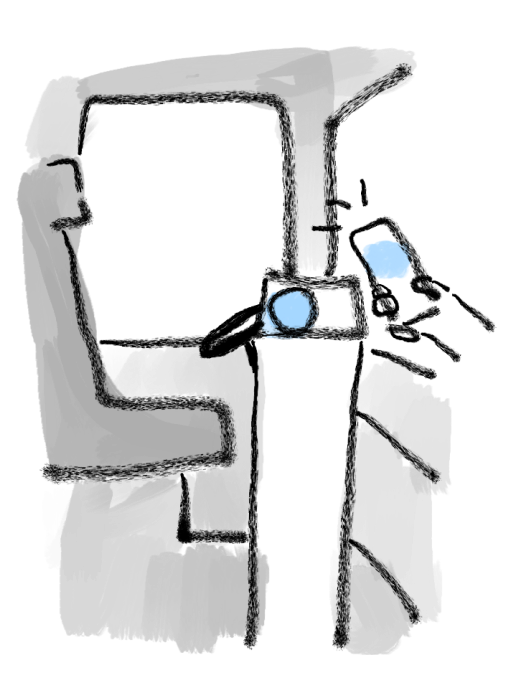
8. Get on the bus
Scan your phone or insert cash at the stand by the driver. If using your phone, you may have to use your fingerprint or double-click the power button to activate the card.
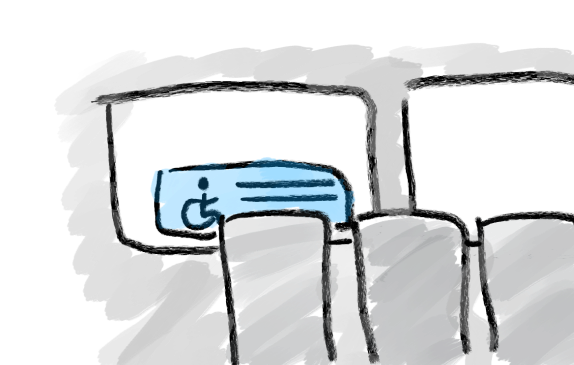
If someone using a mobility device is getting on or off, step back for the wheelchair ramp to connect the bus with the curb.
9. Choose a seat
The front section is reserved for elderly and/or disabled people, including anyone using mobility devices.
If you do not belong to these groups, do not sit in the front.
10. Keep track of where you're going
It's a good idea to know ahead of time which stop you will get off at, and/or the stop before your destination. Many buses announce upcoming stops, but some do not. Keep your navigation app on to track your route.
Stops are usually named after street intersections.
11. Signal the bus to stop
Depending on the bus model, you may have to pull the line by the windows, or push the button on the poles.
The bus will not stop at every stop unless you or another passenger signals. This is to make buses faster.


12. Exit the bus
Leave through the back door. This allows passengers to get on through the front door.
Doors usually open automatically, but you may have to gently push the door in order to activate it.
You can tell the driver thank you as you leave.

13. Make a plan to get home
The bus stop for getting home is on the opposite side of the street from where you got on.
The route should otherwise be similar, but remember that all stops will be in a different place than on the way there.
14. Be mindful of bus schedules
Different lines stop operating at different times of the night, so leave yourself enough time to get home. For example, the last LA Metro line 761 of the night is around 2am.
Find this information by setting departure times on your navigation app, or checking published schedules online.
15. You did it!
You are now prepared to ride the bus comfortably. You know what to expect.
As a last tip, be flexible. The first time riding a new route will always be prone to mistakes. Take a friend and/or allow for up to one extra hour of travel time the first time around.
Note for trains and subways
Trains and subways are very similar to buses, and are often operated by the same system (your bus card may work for trains/subways as well).
The main difference is that trains and subways must stop at every station, so you don't need to signal when getting on and off.